

← All projects
Project documentation · Since March 2025

Slopestix

Stickers for the slopes.

Six original designs, each one from something I actually saw or heard on the mountain. Designed, built, and shipped by me: the stickers, the shop, the database behind it, the app, and the bot that posts the memes.

Founder
Ranbir Gill
Started
March 2025
Launched
Dec 2025
Status
Live
01

The story

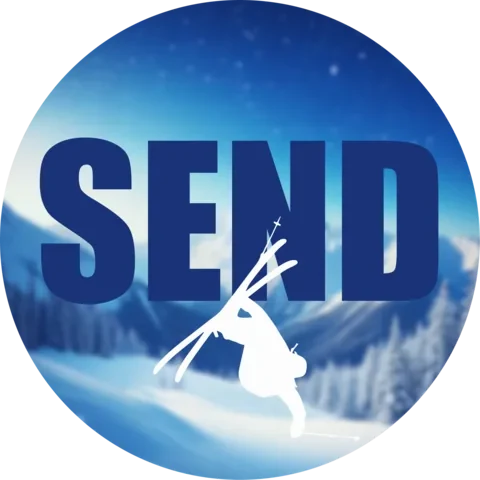
I've been skiing for nine years, and if there's one thing those years taught me, it's that skiers will turn almost anything into an inside joke. Bigfoot shredding the back bowls. Park rats yelling “SEND IT” off a jump. Every season is full of these little moments, and every off-season I miss them.

I wanted a way to keep them. Stickers turned out to be the perfect place to put them: tiny one-and-a-half-inch canvases that you can slap on a helmet, skis, a board, a laptop, a water bottle, anywhere. Every time you look at one, you get a reminder of months on the slopes.

So that's what Slopestix is. Each sticker is my own take on something I actually saw or heard on the mountain, and a little badge of pride for anyone who skis or rides.

The name
Ski stickers Skistix Slopestix

It started as ski stickers. I knew “cks” could become an “x,” so ski stickers became “Skistix.” I liked it, and the very first version of the website was actually built under that name.

The problem was that it left out snowboarders, and I wanted Slopestix to be for everyone on the mountain. So I asked myself what actually connects skiers and snowboarders. The answer was the slopes. Skistix became Slopestix.

From idea to launch
  1. March 2025

    The idea. A love of skiing plus a love of design.

  2. June 2025

    First sticker design finished.

  3. August 2025

    Leaned harder into the bigger idea: spreading the love of snow and snowsports and building a community around it.

  4. October 2025

    Development got serious, with a focus on quality and design.

  5. December 2025

    Official launch.

02

The designs

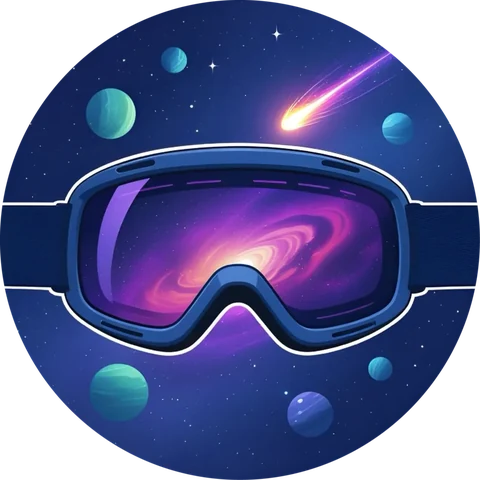
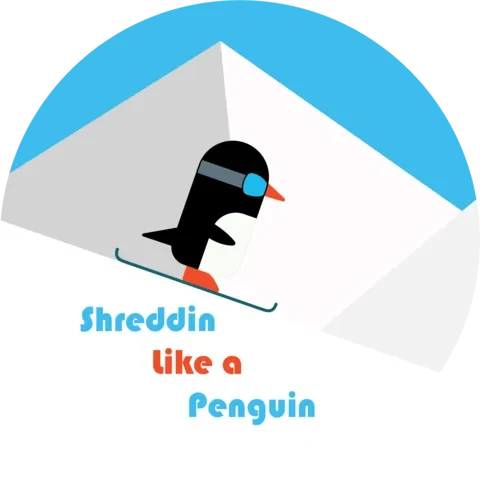
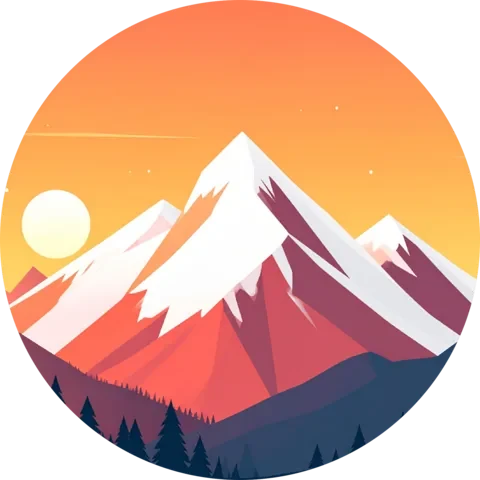
There are six Slopestix designs. Every one is a 1.5-inch circle, and every one came from something real. Pick one to hear where it came from.

  1. 1Sketch it on paper first.
  2. 2Take a picture of the sketch and bring it into Adobe Illustrator.
  3. 3Trace it in Illustrator.
  4. 4Refine, then keep adding components and building on it until it's a sticker I really like.
03

Making them real

Designing the stickers was the fun part. Actually producing them was where things got hard.

  1. Test sheets

    An Illustrator file laid out 6 stickers per row, 6 rows per page. Paper copies to test cutting.

  2. Hole punch

    A 1.5-inch punch to match the diameter exactly. Getting a clean, centered cut was super, super hard.

  3. Sticker paper

    Real copies on sticker paper. Cuts still off-center, and each one took way too long.

  4. Manufacturer

    Switched to third-party manufacturing for scale, time, and precision.

  5. Matte vinyl

    Tried matte first. Didn't like it.

  6. Glossy vinyl

    Glossy waterproof vinyl. Liked it a lot.

  7. Borderless

    The first batch was about a millimeter off, and the borders made it obvious. Removed them.

The hole punch problem

My first plan was to make every sticker myself. I printed test sheets and bought a 1.5-inch hole punch because it matched the sticker size exactly. In theory, punch it out and you're done. In reality, getting the punch perfectly centered every time was almost impossible. A shift of a few millimeters is enough to make a sticker look wrong, and I was fighting that on every single one.

Real sticker paper didn't fix it either. The cuts were still off-center, and it was taking way too long to make even one sticker. That's when I decided to go with a third-party manufacturer. It meant more scale, a lot of saved time, and precision I physically couldn't get with a hand punch.

Material

Waterproof vinyl was non-negotiable. They're meant to be worn in any condition, including on a snowy mountain, so they have to survive snow and water.

Matte Tried first. Didn't like how it looked.
Glossy Liked it a lot more. This is the one.

The border decision

When the first manufactured batch showed up, the stickers were still offset by about a millimeter. On its own that's tiny, but I had designed every sticker with a border, and a border makes even a one-millimeter shift really noticeable.

See how the ring is thicker on one side? That's the 1mm.

Same offset. Without the border there's nothing to compare it against, so it disappears.

I thought about it for a long time. Eventually I landed on removing the borders entirely. That made the offset basically invisible, and honestly, redesigning without them turned the stickers into what I wanted them to be in the first place.

Packaging

Every sticker ships with an insert card I designed myself, which doubles as its backing card. The cards are printed on both sides, so the backside print has to line up with the frontside print. Getting that alignment right took multiple iterations.

Every order goes through the same process I put together.

Prep once per batch
  1. Print the insert cards double-sided on cardstock, flipping each sheet by hand, then cut them out.
  2. Flatten the cards, bags, and stickers under something heavy for a few hours, sometimes up to a day.
Package it
  1. Open the order in my fulfillment dashboard and check what was ordered.
  2. Write a personal message on an insert card.
  3. Put the card and sticker in a plastic bag.
  4. Slip the bag into the envelope and seal it.
Address it
  1. Return address label in the top left.
  2. The customer's name and address handwritten in the center.
  3. Stamp in the top right.
Mail it

Faster and more reliable: take it to the post office and hand it to the clerk (and buy more stamps while I'm there).

Convenient: the outgoing slot of the community mailbox.

04

The website

I built slopestix.shop myself. I wanted to give Slopestix the home I knew I could build best, and I wanted control over every piece of it. I had the skills, so I thought, why not.

FrontendHTML, CSS, JavaScript
BackendPHP
DatabaseDesigned from scratchthe tables, fields, and keys
CartFully working, built on the database
PaymentsStripe-hosted checkoutkept simple on purpose, still integrated
Fulfillment dashboardA page I coded to see and manage orders

From Replit to the real thing

My first versions were made in Replit, back when I wasn't the strongest coder and didn't really know my tools yet. As I got better, I moved to Cursor and VS Code to build the final website, the one that's live now.

ReplitCursor + VS Code

The hardest part: databases

I had never used a database before this. I did all of the database design myself (what tables I needed, what fields went in them, how the keys connected everything) and learned a ton doing it. Integrating it into the site took real effort too.

But once it worked, it worked like a real website. The cart worked. That felt good.

05

The app

Slopestix also has its own mobile app, which I built. It's the Slopestix store in app form: the same designs and the same shopping experience, right on your phone.

AndroidLive on the Google Play Store
iOSLive on the Apple App Store
Visit slopestix.shop
06

The meme machine

For Instagram, I built an automated pipeline in n8n that makes and posts ski memes for Slopestix. The whole thing runs on its own. The only human step is me picking which meme goes out.

  1. JSON filePick a template. Reads a JSON file that tracks which Imgflip meme templates have already been used, then picks a random one that hasn't.
  2. ImgflipGet the template info. Pulls that template's details from Imgflip.
  3. Claude APIWrite the jokes. The template info goes to Claude through its API, which writes 3 possible ski-themed captions for it.
  4. Email · meAsk me. The workflow emails me all 3 options. I pick one, and my choice gets sent back into the pipeline.
  5. Imgflip APIMake the meme. Calls the Imgflip API with my chosen caption to generate the actual meme.
  6. CodeBrand it. A code block builds the final image: black background, the Slopestix logo at the top, a funny ski-themed title right under it, and the meme in the center.
  7. MP4 converterMake it a video. The image goes through an MP4 converter that turns it into a 5-second video.
  8. Vercel Blob · CaddyHost it. The file is hosted at a public URL so Instagram can grab it.
  9. Instagram Graph APIPost it. Finally, it calls the Instagram Graph API to publish the video.
07

Stories

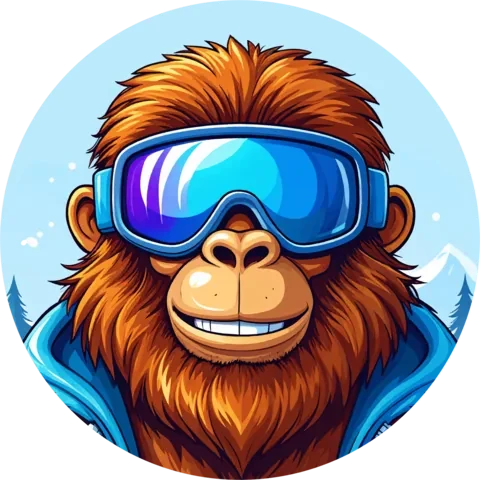
Bigfoot at the top of Chair 6

I remember standing at the top of Chair 6 at Crystal, looking down into the bowls, listening to these kids argue completely seriously about whether Bigfoot skied there. That one conversation turned into my favorite sticker.

The penguin

I remember how long I spent on the penguin, going back and forth trying to keep it simple without losing what made it a penguin. And I remember not minding at all, because it was so fun.

The hole punch

I remember lining up that hole punch over and over, trying to get it dead center, and every sticker coming out just slightly off. That frustration is exactly what pushed me to find a manufacturer.

The first batch

I remember opening the first manufactured batch, seeing that one-millimeter offset, and realizing the border was the problem. Dropping it, and redesigning without it, is what finally made the stickers look the way I wanted.

The dashboard

I remember checking the fulfillment dashboard I'd coded myself and watching it actually fill in with the first orders. Seeing something I built from scratch do exactly what it was supposed to do, with real orders, was a really cool moment.

Notes in the first orders

The first orders each went out with a little handwritten note. I wanted the very start of Slopestix to feel personal.

The drive to the post office

I remember the drive to the post office to mail the first orders. It was peaceful, and exciting. I'd bought stamps, put one on every envelope, and then I just dropped them in and said goodbye to them. I was smiling a lot. It felt like about a year of work was finally paying off.

Nothing beats posting that first order.

08

By the numbers

6
Original designs
1.5 in
Sticker diameter
36
Stickers per test sheet (6 × 6)
2
Vinyl finishes tested (matte, then glossy)
~1 mm
Offset made invisible by going borderless
3
Dev environments (Replit, then Cursor and VS Code)
3
Platforms (web, Android, iOS)
9
Steps in the meme pipeline
1
Human input in the pipeline (one email click)
5 s
Length of each posted meme video

Tools I used

Design
Pencil and paperAdobe Illustrator
Website
HTMLCSSJavaScriptPHPCustom databaseStripe
Dev environments
ReplitCursorVS Code
Mobile
Android · Google PlayiOS · Apple App Store
Automation
n8nImgflip APIClaude APIInstagram Graph APIVercel BlobCaddy
Production
Glossy waterproof vinylThird-party manufacturingTwo-sided insert cards on cardstock

Why this project matters

I've realized my creativity starts with noticing the world around me and then putting my own spin on it. With skiing, that took the form of a sticker.

Slopestix is my way of giving back to the ski community and showing how much I love it: taking a passing moment on the mountain and turning it into something that sticks.